Fermented Chilli Sauce Recipe
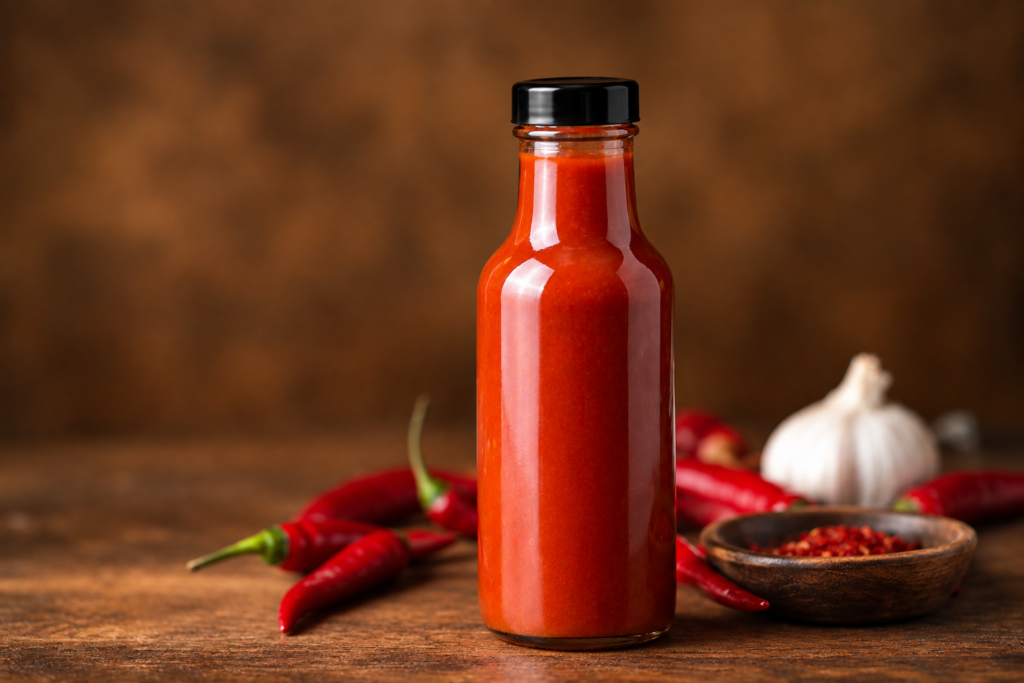
Fermented chilli sauce is made by submerging fresh chillies in a 2.5% salt brine for 7-14 days, allowing natural Lactobacillus bacteria to convert the sugars to lactic acid. This produces a deeply complex, tangy sauce that keeps for up to 6 months in the fridge.
This fermented chilli sauce recipe is a classic that we are confident you will keep coming back to. It has a depth and complexity that vinegar based sauces cannot replicate. It is tangy, funky, rich, with a heat that builds gradually and a flavour that develops and improves over weeks. It is also genuinely easy to make once you understand what the fermentation process is.
The word “fermentation” puts a lot of cooks off. It can conjure up images of complicated equipment, dangerous chemistry and mysterious processes that make it seem like something for professional chefs rather than home cooks. The truth is that lacto-fermentation (the process that makes this sauce) is one of the oldest and most reliable food preservation methods in human history. Fermentation is the same process that makes sauerkraut, kimchi, and traditional dill pickles. Salt, water and time do the work. You’re not doing anything complicated. You’re just providing the right conditions for naturally occurring bacteria to do what they’ve always done.
This guide explains everything you need to make fermented hot sauce. The science (in plain English), the equipment (you almost certainly have most of it already), the recipe, and what to look for so you know it’s working.
What Is Lacto-Fermentation? (The Plain English Version)
Every fresh chilli (like all vegetables) has naturally occurring bacteria living on its surface. Most of these bacteria are harmless. Among them is a group called ‘Lactobacillus’. This is the same beneficial bacteria found in live yoghurt and sourdough bread. These bacteria love and thrive in an oxygen-free, mildly salty environment.
When you submerge chillies in salt brine, here’s what happens:
- The salt creates conditions that kill off most of the other bacteria while allowing Lactobacillus to thrive.
- The Lactobacillus feed on the natural sugars in the chillies and convert them into lactic acid.
- This lactic acid gradually lowers the pH of the brine from around 6.5 at the start to somewhere between 3.4 and 3.8 by the end.
- At this acidity level, harmful bacteria cannot survive. The chillies are effectively pickled by their own natural process, producing a sauce that is both preserved and probiotic-rich.
You will know the process is working because you’ll see bubbles appearing in the brine. Carbon dioxide is a by-product of the fermentation and those bubbles rising through the brine are your confirmation that the Lactobacillus are active and the process working.
The whole thing requires no cooking, no specialist equipment and no experience. You just need to focus on getting the right salt concentration then being patient.
Salt Concentration – The Key to Good Fermented Hot Sauce
The salt concentration is the critical variable when it comes to fermentation. Get it right and the process is reliable and safe. Get it wrong and either nothing happens (too much salt) or the wrong bacteria take hold (too little salt).
The safe range is 2-3% salt by weight of your total brine.
This means for every 1,000g of water you add 20-30g of non-iodised salt. After much experimentation making hot sauce over the years we use a salt concentration of 2.5%. This is a nice the middle of the range which gives a reliable ferment and a pleasantly balanced saltiness in the finished sauce.
Two critical points:
Use non-iodised salt. Regular table salt contains iodine, which is added specifically because iodine kills bacteria. The same bacteria-killing property that makes iodised salt good for your health will prevent fermentation entirely. Use sea salt, kosher salt, pickling salt or any salt labelled “non-iodised.” Maldon sea salt flakes work perfectly. We use standard sea salt from the baking aisle.
Weigh your salt carefully (don’t measure by volume). A tablespoon of fine sea salt weighs very differently from a tablespoon of coarse sea salt. The 2.5% calculation only works reliably by weight. A digital kitchen scale is the one piece of equipment that genuinely matters here.
Equipment You Need to Ferment
Not a lot is the answer. While you can go down the rabbit hole of lots of complicated equipment below is what we use regularly to make our hot sauce. You probably already have most of it already in the kitchen.
A large glass jar. We use a 1-litre Kilner jar for our ferments. It needs to hold the chillies submerged under brine with some headspace above.
Digital kitchen scales: Used for measuring your salt accurately by weight to ensure you hit the magic 2.5% brine concentration. Available for less than £20 on Amazon.
A small ziplock bag or fermentation weight. This is used to keep the chillies submerged under the brine to avoid mould forming. More on this below.
A blender or food processor. Used to blend for the finished sauce texture.
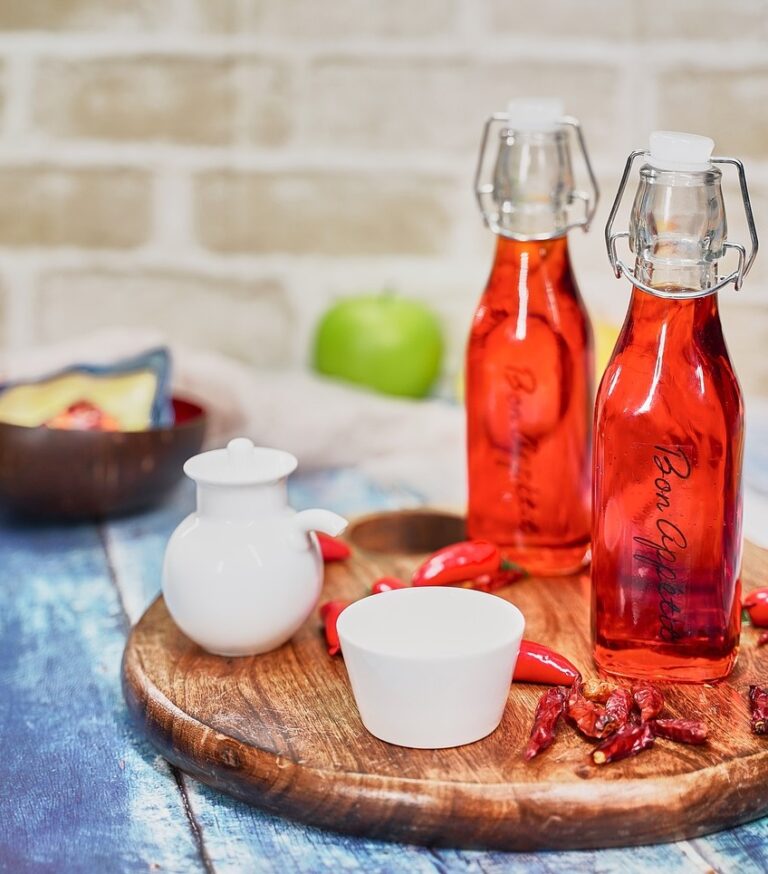
Glass bottles for the finished sauce. We prefer relatively small glass bottles like these as they make ideal gifts for family and friends.
Nitrile gloves. Essential when handling hot chilli varieties. Available on Amazon.
That’s genuinely everything. No airlock required. No fermentation crock. No temperature controller.
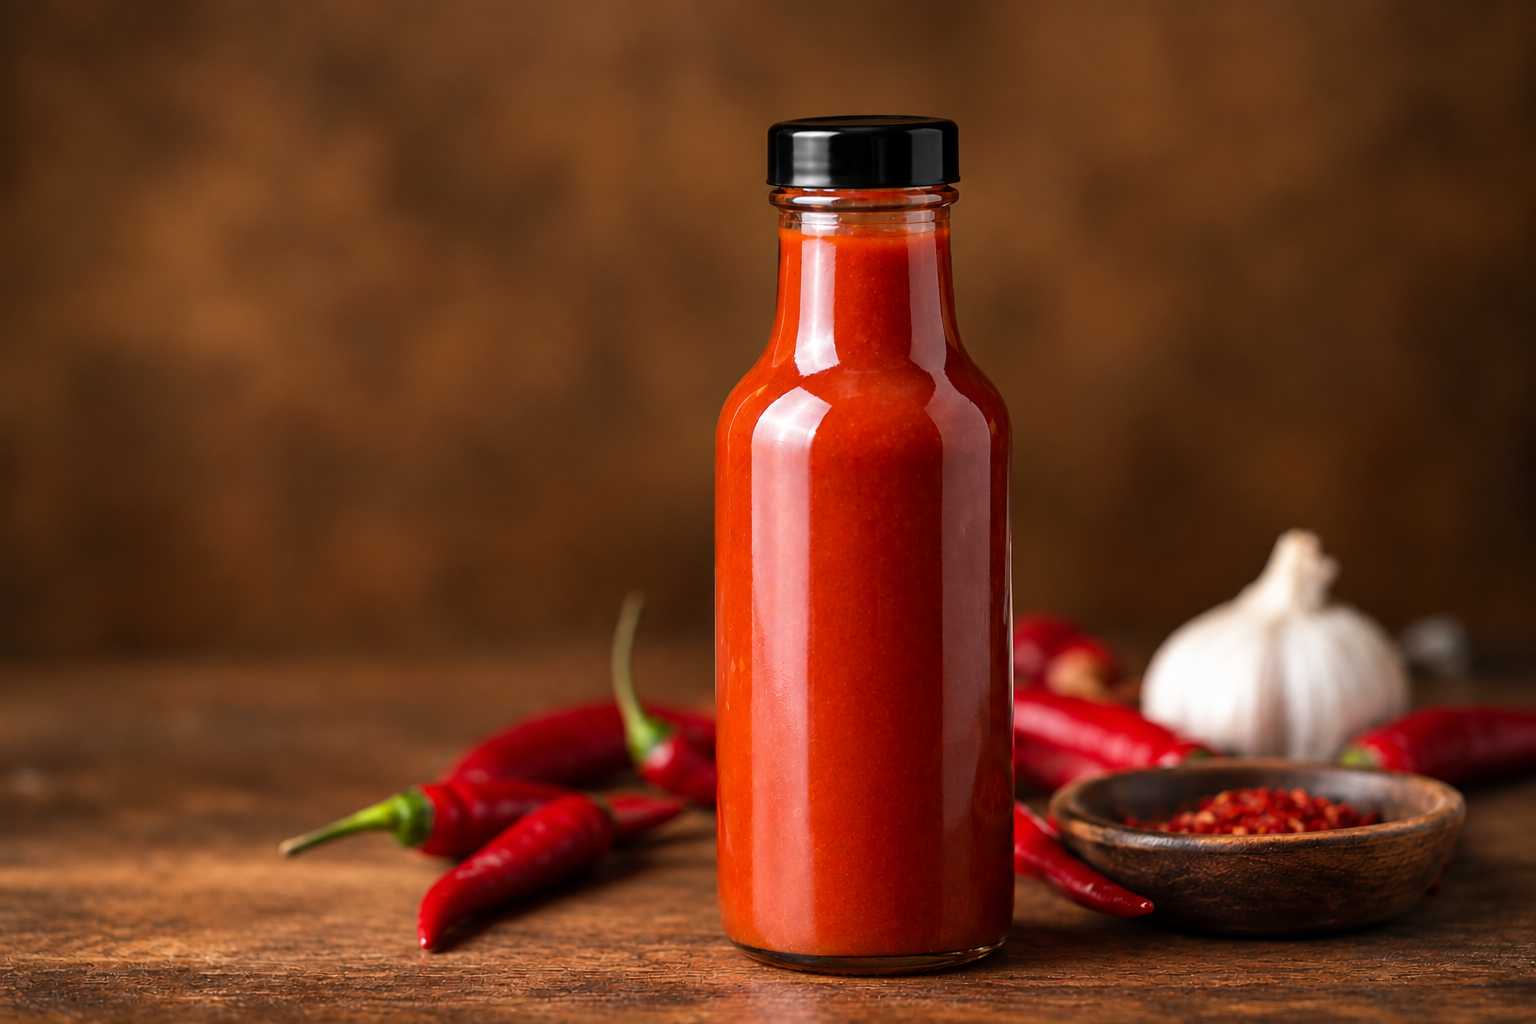
Fermented Chilli Sauce
Ingredients
Method
- Wash the chillies and remove the stalks. Wear gloves if using hot varieties. Roughly chop — there's no need for precision here.
- Weigh 700g of cold water and dissolve 17.5g of non-iodised sea salt in it. Stir well until fully dissolved. If you're using tap water, leave it to stand for an hour first, this allows any chlorine to dissipate.
- Pack the chopped chillies and garlic cloves into your sterilised jar. Don't pack too tightly, the brine needs to circulate around the chillies.
- Pour the brine over the chillies until everything is fully submerged, leaving 3-4cm of headspace at the top.
- Keeping the chillies submerged is important. This is the one step that trips people up. Fill a small ziplock bag with a little of the brine solution, seal it and press it gently on top of the chillies. It acts as a weight and seal simultaneously. A clean stone or a small Kilner jar of water also work.
- Place the jar on a plate (in case it bubbles over, this is normal), cover loosely with the lid or a cloth secured with a rubber band, and leave somewhere at room temperature (18-24°C) out of direct sunlight.
- Within 2-5 days you should see bubbles rising through the brine when you tip the jar gently. The brine may turn slightly cloudy. Both are excellent signs, this is your ferment working.
- Every 1-2 days, open the jar briefly to "burp" it. Releasing the built-up carbon dioxide gas. Just unscrew the lid for a few seconds then replace. If using a loosely covered jar this happens naturally.
- Taste from day 7. The chillies should taste pleasantly tangy and sour. If you want more sourness, leave for another 3-7 days and taste again. The fermentation timeline is entirely in your hands.
- When happy with the flavour, remove the weight and strain the chillies from the brine, keeping the brine.
- Blend the chillies and garlic with enough brine to reach your preferred consistency – start with half the brine and add more as needed. Blend for a full minute until completely smooth.
- Taste and adjust. Add a tablespoon of apple cider vinegar if you want more sharpness. Add salt if needed. Add more brine if too thick.
- Pour into sterilised glass bottles. Store in the fridge. The sauce will keep for 6 months refrigerated and the flavour continues to develop over time.
Notes
- Cloudy brine is completely normal and a sign of successful fermentation, not a sign anything has gone wrong
- The sauce can be strained through a fine mesh sieve after blending for a smoother consistency
- Reserve the remaining fermented brine. It is delicious used as a hot sauce in its own right, added to marinades or used as a base for salad dressings
- The longer you ferment the more sour and complex the flavour. 7 days gives a fresh, tangy sauce, 14 days gives a funkier, more developed flavour
Choosing Your Chillies
Any fresh chilli variety works for fermentation. This is one of the beauties of the process. The choice of variety determines the heat level and flavour character of the finished sauce.
For a mild, everyday sauce: Fresno, Hungarian Hot Wax, Anaheim or long sweet peppers mixed with a couple of hotter chillies for warmth. This is a sauce you can use generously on everything.
For a medium, all-purpose sauce: Cayenne or jalapeño give a clean, bright heat with good flavour. Our recommended starting point for beginners. If you grow cayennes, this is the perfect harvest glut recipe.
For a fruity, aromatic sauce: Habanero or Scotch Bonnet bring the distinctive Caribbean fruitiness that fermentation complements beautifully. The lactic acid softens their aggressive raw heat into something more rounded and complex. Use 300g habanero and 200g sweet pepper to moderate the heat and soften the flavour profile.
For a serious hot sauce: Naga or Carolina Reaper if you want genuine fire. Fermentation rounds the heat slightly but these are still serious. Label clearly and only use a few drops at a time!
Can you mix varieties? Absolutely. Mixing is often the best approach. We typically use whatever is ripening in the greenhouse simultaneously, which usually means a mix of cayenne, habanero and whatever else is ready. The blended result is almost always more interesting than a single variety.
Red chillies vs green: Red fully ripe chillies give the most flavour and the best colour in the finished sauce. Green chillies ferment equally well but give a grassier, more ‘raw’ flavour. Orange and yellow varieties produce beautiful golden sauces with slightly more sweetness.
What to Add Alongside the Chillies
The basic recipe above uses just chillies, garlic and brine. While those three ingredients produces a superb hot sauce adding more ingredients can push the flavour profile in interesting directions:
Onion or shallot: A quarter of a roughly chopped onion adds sweetness and body. Very good addition.
Carrots: Add body, natural sweetness and a warmer orange colour. We have found this is particularly good with habanero-based sauces. We use roughly 100g diced carrot per 400g chillies.
Ginger: A thumb-sized piece adds warmth and complexity. Works well with fruity chinense varieties.
Whole black peppercorns: A teaspoon adds background spice depth.
Cumin seeds: A half teaspoon gives an earthy, almost smoky note. If possible lightly roast the cumin seeds in a dry pan before to release the flavour.
How to Know If Your Ferment Is Working
This is what most beginner fermenters worry about. Thankfully checking your ferment is working well is relatively straightforward.
You will see: Small bubbles rising through the brine when you tip the jar. The brine may turn slightly cloudy. The jar may fizz gently when you open it. The smell will shift from fresh chilli to a pleasantly tangy, sour aroma (like a cross between pickles and fresh chilli).
These are all excellent signs: Bubbles mean carbon dioxide is being produced, which confirms the Lactobacillus bacteria are active and the fermentation is proceeding. Cloudy brine is caused by lactic acid and beneficial bacteria (it is not a sign of mould). A tangy sour smell is exactly right.
You should not see: Fuzzy mould (as opposed to white kahm yeast which looks like a thin film), or smell rotting rather than sour. Trust your nose. A good ferment smells like tangy pickles, not like something has gone off.
What is That White Film? (Kahm Yeast Explained)
The most common cause of anxiety for beginner fermenters is the appearance of a thin white film on the surface of the brine. This is almost certainly kahm yeast, a completely harmless wild yeast that appears frequently on ferments. It looks like a thin, flat, white layer on the brine surface and should not be confused with fuzzy mould.
Kahm yeast is harmless. Simply skim it off with a clean spoon, press the chillies back under the brine, and continue. It won’t affect the flavour of the finished sauce. It tends to appear when the chillies aren’t fully submerged under the brine. Keeping everything under the brine is the best prevention.
What if it is mould? Actual mould is fuzzy and raised above the brines surface layer. It looks very different from the flat film of kahm yeast. If you see raised fuzzy patches, especially in colours other than white, discard the ferment and start again. This is rare when the salt concentration is correct, the jar is sterilised and the chillies are kept submerged.
The Full Beginner Reassurance
We want to address the worry directly: fermentation done correctly is one of the safest food preservation methods available. The lacto-fermentation process is self-protecting. The lactic acid produced during fermentation drops the pH to a level at which pathogenic (bad) bacteria including E. coli and salmonella cannot survive. The Lactobacillus bacteria are specifically competing with and winning against any harmful bacteria.
The reason you use salt is to give the Lactobacillus a head start. Salt inhibits the competing bacteria while Lactobacillus can tolerate it. Once the fermentation is established and lactic acid is being produced, the process becomes self-sustaining and self-protecting. This is exactly why humans have been fermenting food safely for thousands of years as a way to preserve food without refrigeration.
The practical checklist for a safe ferment:
- Salt is between 2-3% of the water weight
- Salt is non-iodised
- Use sterilised glass jars to ferment in
- Chillies are fully submerged under brine throughout
- Temperature is kept roughly at 18-24°C
- Jar is loosely covered allowing gas to escape
That’s genuinely all there is to it. Good luck and enjoy!
What to Do With the Finished Sauce
As a table hot sauce. The most common and direct use. Keep it in the fridge, shake before using as sediment settles. Use it wherever you’d use Tabasco or Sriracha: eggs, tacos, pizza, pasta, grilled meat, tasted sandwiches.
As a cooking sauce. A spoonful stirred into a curry, stir fry or soup at the end of cooking adds heat and a pleasant tanginess that vinegar-based sauces can’t match.
In marinades. Mixed with olive oil and garlic as a marinade for chicken or lamb. The lactic acid in the sauce has a mild tenderising effect. See our tandoori marinade recipe for inspiration.
On eggs. A few drops over scrambled eggs or an omelette cannot be beaten.
As a dipping sauce. Alongside our lime pickle and natural yoghurt as part of an Indian spread.
Drizzled over pizza. As good as any chilli oil for this purpose and with a more interesting flavour.
For a quicker habanero condiment ready in 15 minutes rather than 7 days, our charred habanero salsa is the Yucatecan classic.
FAQ
Is fermented chilli sauce safe to make at home?
Yes! Lacto-fermentation is one of the safest and oldest food preservation methods available. The lactic acid produced during fermentation creates an acidic environment where harmful bacteria cannot survive. The key safety requirements are: use the correct salt concentration (2-3% by weight), keep chillies submerged under brine throughout, and ferment at room temperature (18-24°C). These conditions reliably produce a safe, shelf-stable product.
How long does fermented chilli sauce last?
Stored in the fridge in a sealed bottle, fermented chilli sauce lasts up to 6 months. The flavour continues to develop and improve over the first few weeks. The natural acidity of the finished sauce preserves it without the need for cooking or added preservatives.
Do I need an airlock for fermented chilli sauce?
No. An airlock is helpful for longer ferments or for reducing kahm yeast but isn’t necessary for a simple 7-14 day chilli ferment like this hot sauce recipe. Simply cover your jar loosely with the lid or a cloth and “burp” it every 1-2 days by briefly opening the jar to release built-up gas.
Why is my brine cloudy?
Cloudy brine is completely normal and a positive sign. It is caused by lactic acid and beneficial bacteria and confirms your ferment is working correctly. It is not a sign of spoilage.
Can I use tap water?
Yes. UK tap water is generally fine for fermentation. If you’re concerned about chlorine content, leave the water to stand for an hour before using or use filtered water. Chlorine can slightly inhibit fermentation at very high levels but is rarely a problem in practice.
Why didn’t my ferment bubble?
The most common causes are: salt concentration too high (over 5-6%), water temperature too cold (below 15°C), or iodised salt was used. Check which applies, adjust, and try again. A ferment at 18°C may take 4-5 days to show visible bubbles rather than 2-3 days.
Can I ferment dried chillies?
No. Dried chillies don’t contain the water or naturally occurring bacteria needed for lacto-fermentation. Only use fresh chillies for this recipe.
What is the white film on my brine?
Almost certainly kahm yeast. This is a harmless wild yeast that frequently appears on top of ferments. It looks like a thin flat white film rather than raised fuzzy mould. Skim it off, press the chillies back under the brine and continue. It won’t affect the flavour.
Can I use the leftover fermented brine?
Absolutely. The brine is delicious in its own right. Use it as a hot sauce, add to salad dressings, stir into soups, use as a base for marinades, or drink it as a probiotic shot. It shouldn’t be wasted. It keeps in the fridge for 4-6 weeks.
Related Recipes
Scotch Bonnet Sauce Recipe — a simpler vinegar-based hot sauce for when you want something ready in 20 minutes rather than 7 days.
Habanero Hot Sauce Recipe — our vinegar-based habanero sauce with charred garlic and carrot. A great comparison point against the fermented version.
Chilli Oil Recipe — another excellent way to preserve a harvest glut. Ready in 20 minutes.
How to Preserve Chillies — Complete Guide — every preservation method compared so you can choose the right one for your harvest.
Chilli Chutney Recipe — the best option for a very large harvest glut. Keeps for 12 months.
When Are My Chilli Peppers Ripe? — for homegrown chillies, fully ripe red fruit gives the best fermented sauce.