≡ Menu

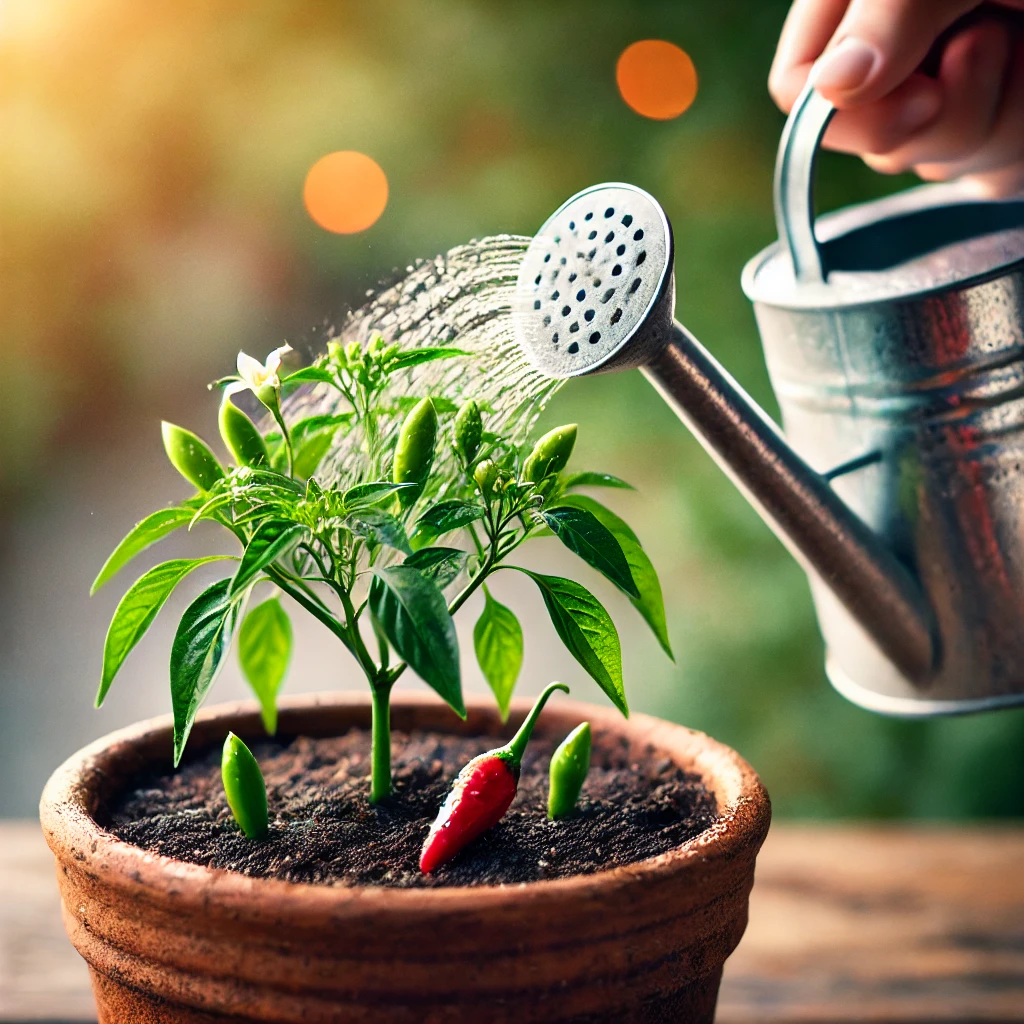
One question we get asked a lot here at The Chilliking is how much should I water my pepper plants?

Below we’ve compiled some tips to help you give your peppers the right amount of water they need to flourish.

Watering Tips for Chilli Plants

  • Plant your seedlings in clear plastic drinking cups. Not only will this save you money on expensive pots, you will also be able to see how dry/moist the roots are. The soil surface can look dry while just a centimeter or two below the surface the soil will be perfectly moist.
  • Learn to pick up you chilli plants before watering them. If the pot feels light, the potting medium is likely dry and in need fo watering. If it feels heavy then they may not need more water. The more you do this the easier it is to judge when your plants need watering.
  • Chillies hate wet feet. Ensure your plants have lots of drainage and do not let them sit in a tray full of water. Always water from the top and allow any excess water to drain out of the roots by putting holes in the bottom of the pot helping to reduce fungal infections of the roots.
  • Avoid using tap water straight away. Try to let it stand overnight in a watering can or bottle before giving it to your plants. This will firstly let the temperature get up to room temp so as not to shock the plants as well as letting some of the chlorine evaporate meaning your plants get cleaner water.
  • If using liquid feed avoid the temptation to use strong doses. We recommend liquid tomato feed diluted to half the recommended strength.
  • Water regularly. Letting your plants dry out then giving them a big water can flush out valuable minerals from the soil/compost. Aim to water at least every 2-3 days, more regularly if required. Regular drinks will place less stress on your chilli plants.
The above tips are only advice. Different chilli varieties grown in different environments will all respond differently.

If you are experiencing problems with your plants (e.g flower drop, yellow leaves etc)  it is well worth doing some split testing to find out what solves the problem.

Simply take half of the problem plants and experiment – water less/more, add feed, bottom water etc and see what if anything helps cure the problem. Oh and if you find something that works be sure to pass on the tip by posting a comment below.

4 comments

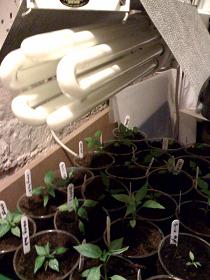
Up until a couple of weeks ago the chilli seedlings had been under regular flourescent tube lights down in the cellar. With the arrival of some good weather a few weeks ago I moved them outside into the mini greenhouse. Unfortunately the weather seems to have taken a turn for the worse again – sunny one minute, cloudy and cold the next.

Last summer the weather was really poor (cool, wet and not much sun) for growing chillies. While I had some success many of the varieties I grew that take longer to fruit (such as chocolate habanero) ended up only producing a small number of fruit before winter arrived. I am keen not to suffer the same fate again this year, despite my very late start.

CFL Gro Light

I have been a bit concerned that my plants are a little small for the time of year (i didn’t plant the seeds until March this year compared to November in previous years!). Unfortunately our garden gets very little direct sunlight (only a couple of hours per day) so I thought it was about time I gave the plants a little boost in order to try and catch up with the growing season.

I have an old Compact Flourescent Light (CFL) 125W Gro Light that I bought a couple of years ago but never got round to using tht I have finally rigged up down in the cellar.

The light gives out 125W which is quite a bit of light! It came with a small reflector when I bought but it looks a little small. I plan to help deflect some more of the light towards the chilli seedlings by covering the inside of a large cardboard box with aluminum foil then placing the pots inside the box.

One thing i need to be careful is to monitor how much heat the CFL light kicks out. The seedlings are still quite small so I need to be careful not to frazzle them. I’ve started off with the bulb about 10 inches above the top of the plants. I’ll lower it a bit each day until I get within 3-4 inches so long as the plants do not singe or wilt – if they do i’ll just raise it an inch or two and leave it here!

As these big bulbs through out a lot more heat than the regular household flourescent lights (though much less than other types of lights) i have previously used I will consider buying a small fan to help keep them cool. In addition a fan can help reduce fungus that can thrive in a hot/moist environment. The air circulation from a fan also helps the plants grow strong stems which will make them stronger and better prepared for when they eventually make it outside!

2 comments

I made some cracking pizzas at the weekend. Following on from my pizza consultations last year with Scott at RealProjects I believe I have now perfected my pizza dough recipe. Below is the latest cut of the recipe;

This recipe makes about 4 10 inch thin pizzas.

pizza

Ingredients for the perfect pizza dough recipe:

1 sachet of fast action dried yeast
400 grams of tipo “00” flour (available from most Italian delis or use strong bread flour if not)
100 grams of semolina flour
1 table spoon of salt
2 table spoons of honey
300 ml of water

Method:

Mix the flour, semolina and salt and place on the work surface in a pile and make a well in the middle. Mix half of the water with the yeast and honey then pour into the well in the flour mixture. Slowly mix the flour into the water well, slowly add the remainder of the water while mixing.

When all of the mixture has turned to dough you have to knead it for ten minutes. Obviously if the dough is too sticky add a little flour or if it is breaking up a bit add a tiny bit of water. After 10 minutes kneading shape into a ball, dust with flour and place somewhere warm for about an hour to proof.

While waiting for the dough to rise you can make your tomato sauce for the base.

After about an hour the dough should have roughly doubled in size. Now simply give the dough a quick knead for about 2 minutes (this process is known as knocking back) then divide into 4 pieces and roll out. The bases should be thin (the true Italian way) and about 10 inches in diameter.

Now simply add your tomato sauce, chunks of mozzarella and toppings of your choice.

Here are my tips that will help you make potentially average pizzas great:

1) Use a pizza stone if you can get one. If not try getting a piece of granite from the local stone merchant. Pre-heat this in the oven prior to cooking to ensure it is as hot as possible.

2) Pre-heat your oven and always have it on it’s highest temperature. Wood fired pizza ovens are far hotter than domestic ovens so to have a chance of getting good pizza you need the oven on max.

3) After you have rolled out the bases, place them onto sheets of baking parchment before adding your sauce and toppings. This will make it much easier to get the pizzas in and out of the oven quickly (helping you avoid either dropping your pizza or losing too much heat from the oven by having the door open for too long.

[ad name=”square”]

7 comments