For the last 3 years i’ve been using a home made light box to help increase the early season growth of my chillies. I’ve mentioned the box before but never really gone into a lot of detail about how it’s made. In this post i’ll break down the components used in it ans explain how i made it as well as covering some of the advantages it brings.
The Bulbs
At the heart of ny good grow box setup is the bulbs. There is a lot of mis-information out there when it comes to grow light bulbs and what works and what doesn’t. In this setup i’m only using the lights to help grow pepper seedlings in early stages of development. As a result regular household grade fluorescent bulbs are more than adequate for the job.
The beauty about fluorescent lights is they don’t produce much heat. This means they are far cheaper to run compared to a regular incandescent bulb but also they are far less likely to scorch tender young seedlings.
The bulbs I use are 18W T8 fluorescent tubes which are roughly a foot and a half in length. These bulbs throw out 1150 lumens of light each and usually come with two different spectrums: Cool White 4000k and White 3500k.
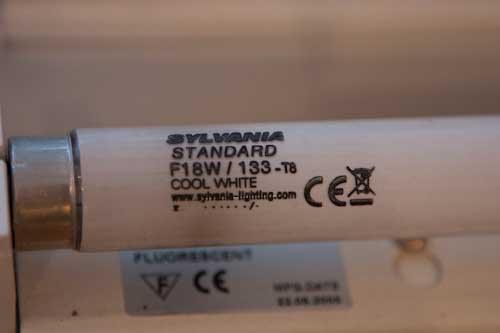
As plants grow they require different spectrums of light. For early/general growth (foliage) anything over 2500k is fine. If you want to continue growth under lights later in the season and get your peppers to flower and eventually fruit, they’ll usually need around a 6000k light so you should consider some more serious grow lights.
These fluorescent tubes are perfect for starting young seedlings and getting some early season growth. Personally I use the Cool White 4000k bulbs but the 3500k will do just as good a job.
Mounting The Lights
Mounting the light units is pretty simple, even a DIY inept fool like me can do it. I simply cut a piece of MDF (approx 1.5cm thick) to fit roughly over the top of the box (well actually i lucked out and found a bit in the shed that would do the job!). You’ll need to drill two small holes through the board for the wires from each light unit so you don’t hae to run any cables inside the box. Once the holes are in place it’s a simple case of screwing on the light units parallel to each other. Once done simply add a plug to to each wire and put the tubes in.
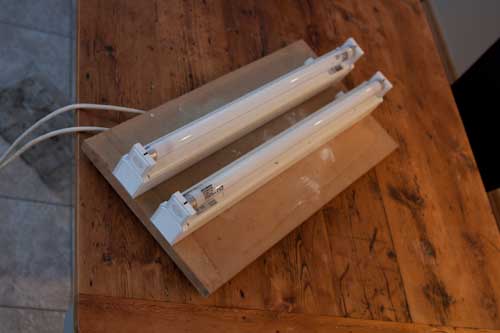
I debated mounting the lights directly onto the inside of the boxes lid but decided against it for some unknown reason. I’ll probably get round to this at some point in the future.
The Grow Box
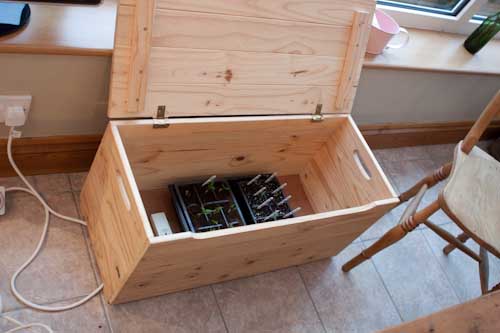
Well, it’s just a plain old wooden box from B&Q, no more, no less. At some stage I’ll probably line the inside of the box with some aluminum foil in order to bounce the light around inside to maximize the light output of the bulbs.
Perfect for Germinating Seeds
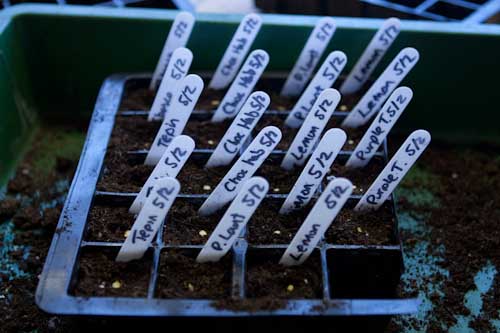
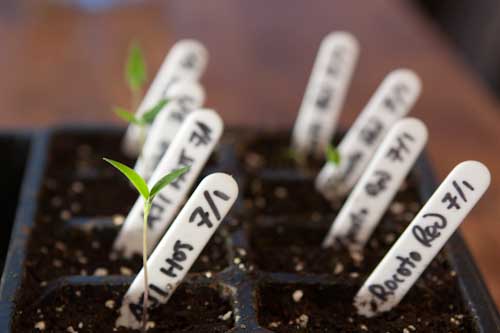
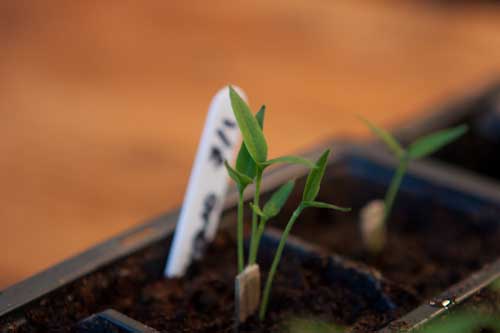
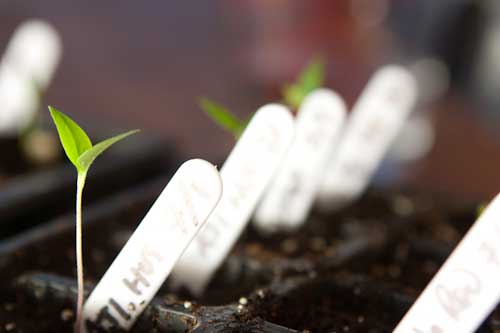
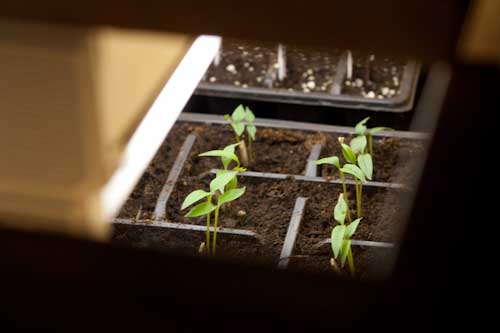
The biggest benefit of this kind of lighting set up is that it supplies both light and heat to your chillies. Therefore any seeds that have yet to germinate receive the heat they need in order to burst into life. At the same time those seeds that have germinated have plenty of light straight away so that they can begin growth immediately.
Another great thing about this set up is that it is discreet. As the light is pretty well contained and the exterior of the box doesn’t look too ‘agricultural’ if you’re tight for space you can probably get away with keeping the light box in the house.
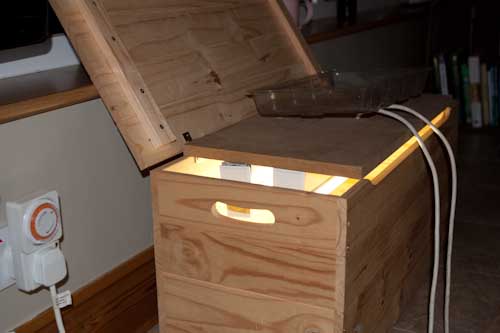
Once the box is assembled and the lights are on it holds the temperature at a steady 21 degrees Celsius. This is despite the box currently being in a cold (unheated) conservatory in the middle of winter. I run the lights on an 18 hour on, 6 hours off cycle which gives the seedlings plenty of light plus time to rest.
Next Stages of Growth
Of course after a few weeks you may (like me) get the itch to plant some more seeds or want to get a lighting set up more suitable to growing slightly large seedlings. The next step up would be to use regular domestic Compact Fluorescent Lights bulbs (CFLs) in a slightly different setup that can be used to light a larger area. There is a great example of this kind of rig here on Kats Scracth Pad.
If you want to get a little more serious then you may want to think about investing in a much more powerful (over a 1000W) setup such as a proper CFL chilli grow light. These grow lights need not break the bank and if you’re only growing on a small to medium scale they can help you massively boost your yield of peppers.
So there you have it. I think the whole setup cost less than £20 if my memory serves me correctly. It just shows that grow lights need not be as expensive as you think and with a little effort you can build a cheap and effective grow box that will help give a boost to your early season chillies.