≡ Menu

Tandoori chicken is without a doubt one of my favourite indian dishes. When I find myself in an Indian restaurant for the first time I always find it hard not to order the tandoori chicken as a starter. Tender moist chicken, slightly charred in places and far from dry delicately spiced with a blend of masala and a zing of chilli really does take some beating.

The absolute key to making great tandoori chicken is to marinade the meat in two phases. The first marinade should last about 20-30 minutes maximum and will tenderise the chicken, making it moist and not as susceptible to drying out during cooking. The second marinade is yogurt based and contains the bulk of the spices which will flavour the meat. This second marinade should ideally last somewhere between 2 and 6 hours – any less and the flavours can’t penetrate the meat and any more and the proteins in the chicken tend to stiffen resulting in toughness.
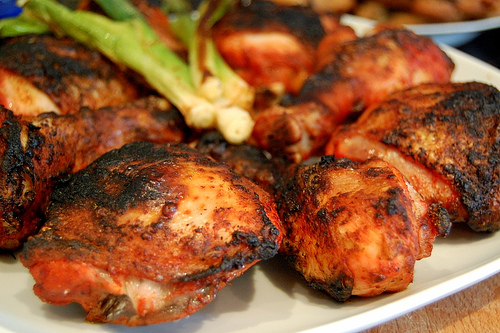
Tandoori Chicken Recipe

Ingredients

  • 6 skinless chicken breasts (or small legs)

1st Marinade (Garlic Ginger Paste) Ingredients

  • 1 bulb of garlic
  • 5 thumb size pieces of fresh ginger
  • 3 tablespoon of lemon juice
  • 4 tablespoons of water
  • 1 teaspoon of salt

2nd Marinade (Tandoori Mix) Ingredients

  • 500g natural yogurt
  • 3 teaspoons of hot red (Kashmiri) chilli powder
  • 2 teaspoons of ground cumin
  • 1 teaspoon of ground coriander seeds
  • 1 teaspoon of besan (chickpea flour)

Making the marinade is relatively simple. Simply add the 1st marinade ingredients to a food processor and blend well to form a loose paste. Dice the chicken into small cubes and mix with the garlic/ginger paste in a bowl before leaving in the fridge for 20 minutes. Meanwhile mix the ingredients for the 2nd marinade in a bowl (to increase the flavour of the spices you can slightly toast the cumin and coriander seeds in a hot dry pan before grinding in a pestle and mortar). After 20-30 minutes add the marinaded chicken and again leave to rest in the fridge for 4-6 hours.
 

1 comment

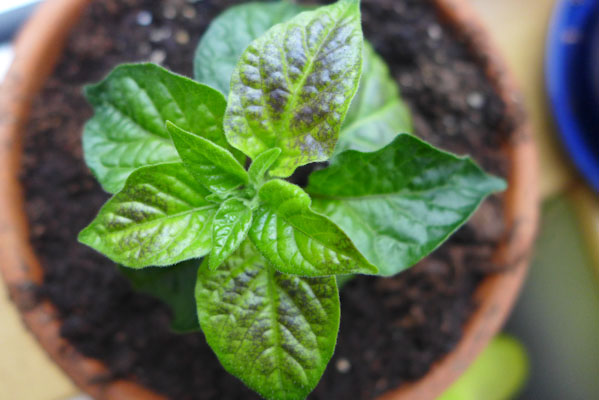
One question that gets asked time and time again here on the Chilli King is why are my chilli plants turning yellow? Yellow leaves is a common sign of stress in plants which usually means you’ll need to identify the most likely issue in your growing environment. There are a number of possible reasons listed below that can cause yellow leaves. As is often the case with diagnosing problems it is usually impossible to say definitively what the issue is however below we have listed the common causes of yellowing leave on chilli pepper plants.

Nutrient Deficiency

One of the most common causes of yellow leaves on chilli/pepper plants is a lack of nutrients, particularly nitrogen. This is more common when growing peppers in pots as opposed to in the ground. The reason is pots can only hold a finite supply of nutrients in the soil or compost. You should regularly feed your plants to maintain strong growth and maximise flowers/fruit production.

As a general rule you should feed your chilli plants once a week as soon as they start producing flowers. That said if you’re using small pots you might need to increase the frequency. While you can buy feed specifically formulated for chilli plants such as Chilli Focus which is great I tend to use regular liquid tomato feed. I water it down to half the recommended strength and feed my chilli plants once per week.


Over Watering

Another common cause of yellowing leaves is over watering. Over watering can wash the nutrients out of the soil around the roots. I think a lot of people over water their chillies. As well as encouraging pests, fungus and diseases over watering can also reduce the heat levels in plants.

Even when the top of the pot looks dry it can still be moist just a cm or two below the surface.  The best method I use to see if my plants need watering is to lift the pot and gauge the weight of the plant/pot. Do it every day and you’ll soon get a feel of when the plants are very dry and in need of a water. If you are unsure put you finger in to the potting medium to feel how moist the compost is.

Chilli plants are tough resilient plants and thrive in warm climates with minimal rainfall. It is better to slightly under water you chilli plants rather than over water them.

Cool Temperatures

I’ve also noticed that plants which I leave outside at night or get exposed to cool night time temperatures tend to be more susceptible to yellowing leaves. Chilli plants love warm temperatures. Cool night time temperatures (which can be all too common here in the UK) are a common cause of yellowing leaves.

Spring can be a tricky time for growing chilli plants here in the UK. Even in a greenhouse, night time temperatures can drop very low which can stress the chilli plants. The problem is even more heightened if you start your plants of early in January/February.

If you are growing your plants outdoors, it can pay to move your plants inside each evening and then put them out again each morning to help avoid the pale leaves.

Chlorine in Water

Water from a domestic tap will almost always contain small amounts of chlorine which can cause yellowing of leaves in young plants. Try to use rain water if possible as this will be chlorine free. If you do not have a water butt then try to let the water you use from the tap stand for 24 hours before being used on your plants. Doing this allows time for the chlorine to burn off and evaporate making it much more palatable to your plants.

8 comments

So it seems after a couple of false starts spring is well and truly with us. While the nights are still quite chilly  the days are getting noticeably longer and we’ve had a nice sunny bank holiday weekend. Combined with the warmer temperatures this glorious sunshine is really kicking the plants on.

Now is the perfect time to be hardening off any pepper plants that are destined to live outside. Every morning before work I’m moving most of the plants out of the greenhouse and standing them in a nice sunny spot. I make sure they’re all back inside overnight to avoid any frost damage. Once the nights start warming up a bit more I’ll gradually start leaving some outdoors 24/7 – mainly the pubescens‎ such as the overwintered Rocoto below as they tend to tolerate the cool temperatures better.

Hardening Off Chilli Plants

Last week I planted up a few plants into my homemade self watering (details of how to make them here). I saw last year how much of a difference self watering pots can make after being given a Quadgrow setup. The constant supply of moisture and nutrients (I’ll be using regular tomato feed watered down slightly) make a huge difference so I’m pretty confident these plants will do very well.

Self Watering Pot - Rocoto

In fact you can see in the photo above how much larger the plants are that have been in the self watering pots already, even after only about 10 days.

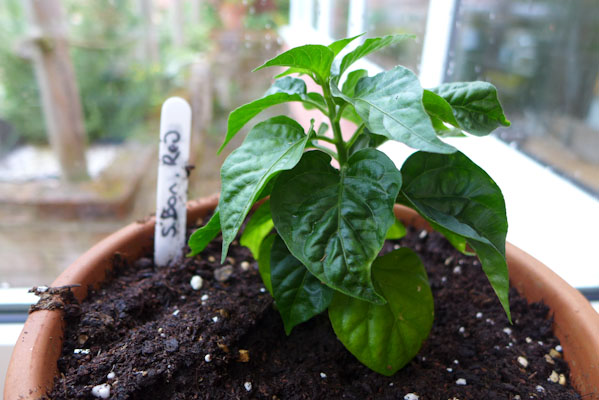
Chinense Peppers Scotch Bonnet Red Plant Scotch Bonnet

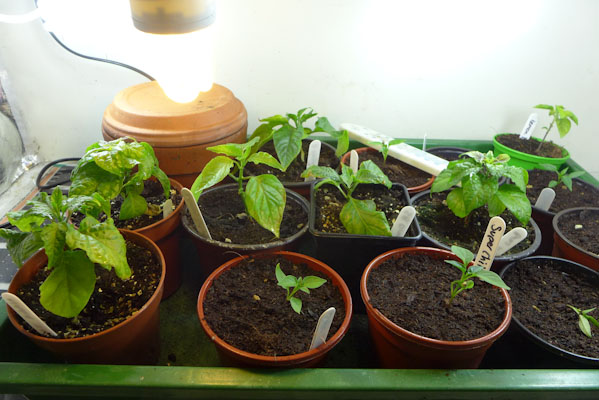
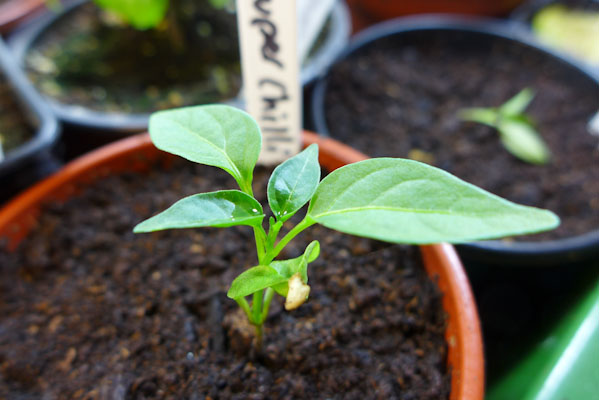
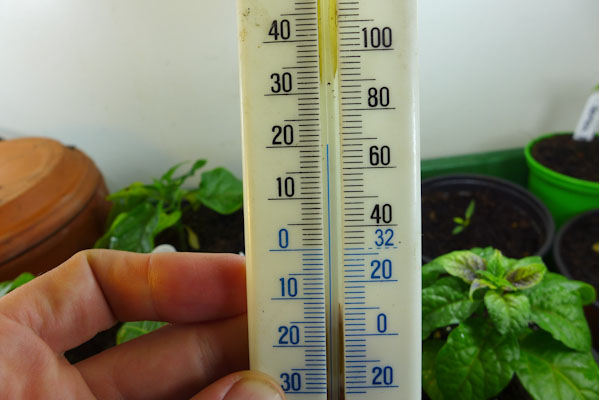
Meanwhile back indoors I’ve got another batch of plants under the grow lights in my grow cupboard. As you can see temps are holding a steady 20 degrees in there so I’m expecting some good growth over the next couple of weeks. These are mainly Annum varieties such as Super Chili F1, Apache, Demon Red and Cayennes. They will soon catch up the other plants as they all grow fairly quickly.

Chillies under grow lights Super Chilli Plant Temperature for Growing Peppers

So all in all progress is pretty good this season. I’ve yet to face a disasters such as pests or disease and all the plants are looking really healthy. Hopefully now the weather will continue to improve and a nice summer awaits.

0 comments