≡ Menu

This Dishoom black daal recipe is the famous London restaurant’s take on the Indian classic Daal Makhani. Dal Makhani is definitly up there in my top 3 Indian dishes. It originates from the heart of Punjab in Northern India. Like most classic dishes it is traditionally a peasant dish, born out of simplicity, made with humble ingredients like whole black lentils (urad dal) and sometimes kidney beans (rajma). It is slow-cooked for hours over a low flame. However over time, Dal Makhani evolved into a dish rich in flavor and culture, becoming synonymous with Indian celebrations and parties. At the same time it is one of India’s most popular comfort foods.

The word “Makhani” translates to “buttery,” which hints at the creamy richness that defines this dish. Butter (or Ghee) and cream are what makes this dish so delicious. However these two ingrediants can be dialled back to make the dish healthier. The key to not lose the creamy texture is to slow cook the daal. I achieve this by using a slow cooker.

Given Urid daal takes a long time to cook (over 24 hours in a slow cooker!) I jump start the process by soaking the daal overnight in water then initially cooking it in a microwave. I wanted to come up with a recipe that can be made in one day. In this recipe I start cooking in the morning and the daal is ready for dinner that night.

Dishoom Black Daal Recipe Ingrediants

  • 300g of black urid daal
  • 12g of finely chopped garlic (2-3 cloves)
  • 10g chopped fresh ginger
  • 70g of tomatoe paste/puree
  • 8g salt
  • 2/3 teaspoon of red chilli powder
  • 1/3 teaspoon of garam masala
  • 90g of unsalted butter
  • cream to garnish

Method

  1. Put the daal in a bowl. Cover the daal in fresh water and leave it to soak overnight (at least 12 hours).
  2. Rinse the daal with clean water. Place in a pyrex dish and cover with 1 inch of boiling water. Microwave on high for 25 minutes.
  3. Drain the daal and place in the slow coker with 1000ml of clean boiling water. Cook on HIGH for 5 hours.
  4. Drain the daal using a seive
  5. Add the daal back to the slow cooker, along with 450ml of fresh boiling water
  6. Add the remaining ingrediants (except for the cream) and stir.
  7. Cook on low for 4 hours, stirring occaisionally

If you love Indian cuisines, I would highly recommend the Dishoom: From Bombay with Love recipe book. This is where I saw the original recipe which I have adapted here.

Dishoom Black Daal Recipe

Related: If you like this try our Dhaba Style Mung Dal Recipe

0 comments

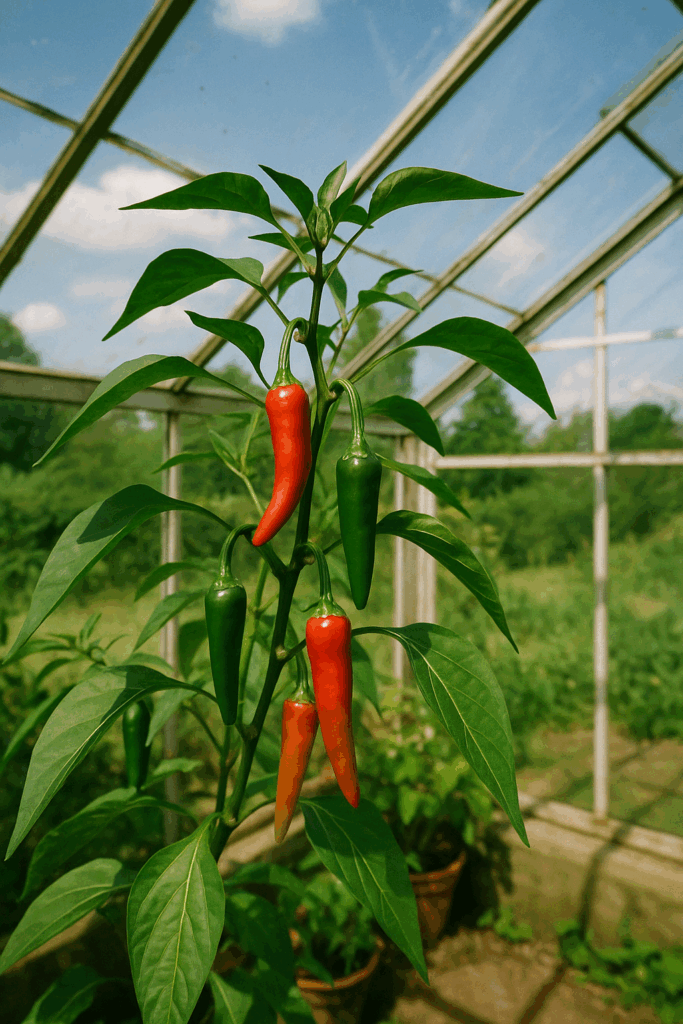
Chilli plants (Capsicum species) are a popular and rewarding plant to grow, whether you are a seasoned gardener or a beginner. From fiery habaneros to milder jalapeños, growing your own chillies allows you to enjoy fresh, spicy ingredients straight from your garden anyime throughout the summer and autumn. This guide will cover everything you need to know to care for a chilli plant, from sowing seeds to harvesting.

1. Choose the Right Variety

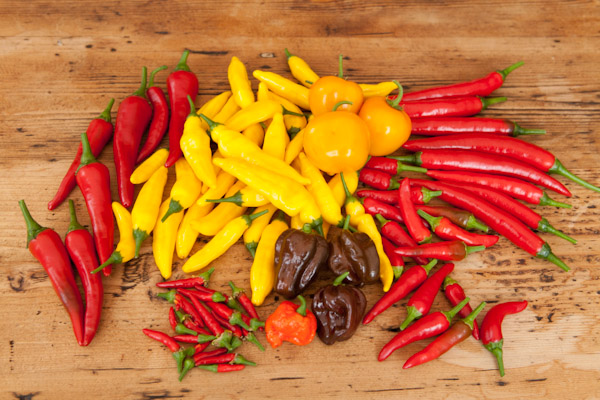
Before you begin, it’s important to select the chilli plant variety you want to grow. There are hundreds of varieties to choose from, ranging in heat from very mild to extremely hot. Some common varieties include:

  • Bell peppers (Capsicum annuum): Mild, sweet, and often used in salads.
  • Jalapeños (Capsicum annuum): Mild to moderately hot, perfect for salsas and grilling.
  • Habaneros (Capsicum chinense): Very hot, with a fruity flavor.
  • Cayenne (Capsicum annuum): Moderately hot, often dried and ground into powder.
  • Ghost peppers (Capsicum chinense): Extremely hot, for those who enjoy a serious heat challenge.

There are literally thousands of different verieties to choose from. We recomend trying some of the above as they tend to be easy to grow and quick to fruit. More exotic varieties can take longer to mature.

2. Starting from Seeds or Seedlings

Chilli plants can be grown either from seeds or purchased as seedlings from garden centres. Growing from seed gives you a wider variety of chillies to choose from, but it requires more time and patience. If you’re planting from seed, start the process indoors 8-12 weeks before the last frost in your area. Here in the UK, I tend to start my seeds off indoors in late January or February.

  • Seed germination: Sow the seeds about 0.5 cm deep in seed trays filled with good-quality potting mix. Place the trays in a warm, sunny spot or under grow lights. Ideally cover them with a lid to help maintain humidity during germination. Chilli seeds typically take 7-14 days to germinate. Keep the soil consistently moist but not waterlogged.
  • Transplanting seedlings: Once your seedlings have developed their first true leaves, they can be transplanted into larger pots or into the garden after the danger of frost has passed.
Chilli Seedlings

Related: Germinating chilli seeds

3. Soil Preparation and Potting

Chillies thrive in well-draining soil, rich in organic matter. Whether you are planting in pots or in the ground, make sure the soil is prepared properly.

  • Soil mix: A mix of compost, peat moss, and perlite or sand works well for chilli plants. This mix will ensure proper drainage while retaining enough moisture for the plant’s roots.
  • pH level: Chilli plants prefer slightly acidic to neutral soil with a pH between 6.0 and 7.0. You can test the soil pH using a soil testing kit, and if necessary, amend the soil by adding lime (to raise pH) or sulfur (to lower pH).
  • Pot size: If you are growing chillies in containers, choose pots that are at least 12 inches in diameter for each plant to give the roots enough space to grow.

Related: Best Potting Medium for Chillies

Chill Plant Care

4. Watering

Chilli plants need consistent moisture, but overwatering can lead to root rot and other issues. The key is to water deeply but allow the soil to dry slightly between waterings.

  • Watering frequency: Water your chilli plants once the top inch of soil feels dry to the touch. In hot weather, this may mean watering daily, while cooler conditions may require watering every few days. Pay attention to the ambient temperatures.
  • Avoid waterlogging: Ensure that your chilli plant pots have adequate drainage holes, and avoid letting the plants sit in standing water. Chilli plants hate having wet roots. If growing in the ground, raised beds can improve drainage in heavy soils.
  • Avoid tap water: I have aways had good success with using saved rain water. If you do use tap water let it sit in a watering ccan for a few hours first. This allows some of the chlorine in the water to burn off.

Related: Watering tips for chilli plants

5. Sunlight Requirements

Chilli plants are sun-loving and need at least 6-8 hours of direct sunlight each day to thrive. The more light your plants get the more chillies they will produce. If you are growing indoors, place them near a sunny window and/or use grow lights to supplement natural sunlight.

  • Positioning: If growing outdoors, choose a sunny, sheltered spot that receives full sun for most of the day. Avoid planting them in shaded areas, as this can stunt growth and reduce fruit production.
  • Under Glass. Here in the UK it is best to grow chilli plants in a greenhouse or poly tunnel. This provides warmer temperatures and maximum natural light.

The only exception is when in your plants first few weeks of life. Young chilli seedlings can be scorched by too much direct sunlight. To avoid, start young seedlings off under grow lights or use indirectnatural light and gradually aclimatise them to more light as they get more established.

6. Fertilizing Chilli Plants

Chilli plants are heavy feeders, especially when they start producing flowers and fruit. To ensure a healthy plant and abundant harvest, fertilize regularly.

  • Balanced fertilizer: During the growing stage, use a balanced fertilizer with equal amounts of nitrogen, phosphorus, and potassium (NPK 10-10-10 or similar). We highly recommend the excellent Chilli Focus.
  • Boosting flowering and fruiting: Once the plant starts flowering, switch to a fertilizer with more phosphorus and potassium (e.g., NPK 5-10-10) to encourage fruit development.
  • Organic options: If you prefer organic gardening, compost tea, fish emulsion, and seaweed extract are excellent natural fertilizers for chilli plants.

7. Pruning and Staking

Pruning your chilli plants can help them focus their energy on producing fruit rather than excess foliage. Staking may also be necessary for larger plants to prevent them from bending or breaking under the weight of the fruit.

  • Pruning: When young, pinch off the growing tips of the plant once it reaches about 15-20cm in height. This will encourage bushier growth whic will increase the yield of the plant. Remove any damaged or yellowing leaves to improve air circulation.
  • Staking: Use stakes or canes to support tall or heavy laden plants. Tie the main stem gently to the stake with soft twine or plant ties.

8. Pest and Disease Control

Chilli plants are susceptible to a few common pests and diseases, but with proper care, most of these problems can be managed.

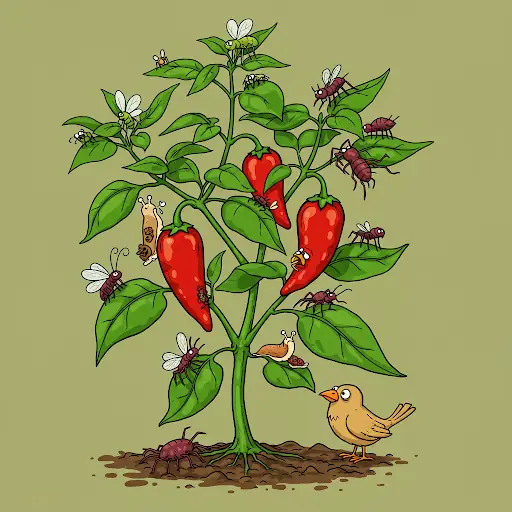
  • Common pests: Aphids, spider mites, and whiteflies are some of the pests that can attack chilli plants. Inspect your plants regularly for signs of infestation, and treat affected plants with insecticidal soap or neem oil if needed.
  • Fungal diseases: Overwatering and poor air circulation can lead to fungal diseases like powdery mildew and root rot. Common signs of over watering are yellowing leaves and or brown spots on foliage. To prevent this do not over water your plants. If growing under glass ensure your plants get good air circulation, are spaced well apart. Finally be sure to keep your growing area clean and prune/remove any dead/dying leaves.
  • Blossom end rot: This condition, caused by a calcium deficiency, leads to blackened, rotting spots on the fruit. Prevent this by maintaining consistent soil moisture and adding calcium to the soil if needed.

Related: Aphids on Chilli Plants

9. Pollination

Chilli plants are self-pollinating, however they may benefit from assistance, especially if grown indoors. We do this by ‘tickling’ open flowers with a small paint brush to transfer the pollen between flowers. Just be sure to clean the brush when moving between varieties to avoid cross pollination.

Chilli Plant Flower

10. Harvesting

Chillies can be harvested at different stages, depending on the variety and your desired flavor.

Most chillies change color as they mature, becoming hotter and more flavorful.

  • When to harvest: For a milder flavor, harvest green chillies. For a hotter and more developed flavor, wait until the chillies turn red, orange, or yellow, depending on the variety.
  • How to harvest: Use sharp scissors or pruning shears to cut the chillies from the plant, leaving a short stem attached. Avoid pulling them off by hand, as this can damage the plant.

11. Storing and Preserving Chillies

Once harvested, chillies can be eaten fresh or preserved for later use.

  • Storing fresh chillies: Store fresh chillies in the refrigerator for up to two weeks. For longer term storage, chillies can be frozen, dried, or pickled.
  • Drying: Hang chillies in a well-ventilated area or use a food dehydrator to dry them as a chilli ristra. Once dried, they can be ground into chilli powder or stored whole in an airtight container.
  • Chutney: One of our favourite ways to preserve chillies is to make this delicious chilli chutney recipe. It stores all year round and can be used in many different recies.
Chilli Chutney Recipe

Related: Check out are chilli recipe archive for more ideas.

How to Care for a Chilli Plant – Conclusion

Caring for chilli plants requires a few key things to be right, such as well-draining soil, plenty of warmth and sunlight and moderate watering. If you get these things ight you should hopefully enjoy a successful harvest of chillies.

If you were wondering how to care for a chilli plant we hope you found the answers in this article. Feel free to add any other tips or tricks you know of for taking care of chilli plants in the comments below.

Love chilli plants? Find more chilli plant care tips and other tutorials in our archive.

0 comments

Many moons ago we declared we had discovered the ‘perfect pizza recipe‘. Well after a few more years research we have upped our pizza game here at Chilliking HQ. If you have been wondering how to make great pizza at home then look no further.

I think you’d really struggle to make better pizza than this in a regular domestic oven. The recipe below makes 4 good size 12″ 9 (ish) pizzas.

This recipe uses a sourdough base which adds a huge amount of flavour to the base. I won’t go into how to make sourdough starter in this post – let me know if you’d like to know and I can cover that in a follow up post.

Pizza Dough Ingredients

  • 200g active sourdough starter
  • 500g strong bread flour
  • 310g water
  • 10g salt

To make the dough combine all of the ingredients in a bowl then cover with a cloth and allow to rest for 10 minutes.

Next knead the dough for 15 minutes until silky smooth. This can be done by hand or in a food mixer with a dough hook (10 minutes on slow, 5 minutes on fast). Again cover the dough and allow it to proof for 3 hours.

Empty the dough onto a floured work surface and divide it into 4 equal pieces. Shape each piece into a ball by drawing in the corners repeatedly to build some surface tension in the dough. Set the balls aside in a covered tray to proof for another 2-3 hours.

Usually i’ll make a double batch of dough and simply freeze one batch straight after shaping the dough balls. I usually take the dough balls out of the freezer first thing in the morning and they are ready to cook with at lunchtime or if kept somewhere cool will be fine hanging about until the evening.

To shape the dough use your fingers to spread the dough balls into a flat circle. Leave a thick crust around. the edge. The air in this crust will puff up during the cooking process. I then pick the dough up and droop it over the back of my hands, letting gravity stretch it out while i rotate the dough.

I use a mix of normal flour and semolina flour on the work surface and peel to stop the pizzas sticking.

Tomato Sauce Ingredients

  • 2 x tins of chopped tomatoes
  • 2 x small cloves of garlic
  • 1 x tablespoon of dried oregano

To make the tomato sauce simply crush the garlic and simmer for a couple of minutes in olive oil. Add the tinned tomato and oregano. Simmer for 4-5 minutes then blend with a hand blender to a smooth consistency. Continue to simmer for another 20 minutes to slightly reduce the sauce.

How to Prepare Your Oven

To make great pizza at home you need to cook it hot and fast. Below are a couple of tips i’ve found work really well to retain the heat while you’re cooking your pizzas.

  1. When pre-heating the oven, I put a spare cast iron casserole dish and griddle pan into the bottom of the oven. These soak up the heat and prevent too much heat loss when you are opening/closing the oven to add/remove your pizzas.
  2. I always cook the pizzas on a pizza stone.This helps to cook the pizza from beneath too and help get the base crispy. It also aids the overall heat retention in the oven like the tip above.

Make Great Pizza at Home

Cooking The Pizza

Leave your oven on full (240 degrees Celcius in my case) when cooking. I use a round thin chopping board (liberally dusted with semolina flour) as a peel to get the pizzas in the oven. To remove them I simply fish them out with a large chefs knife back onto the board. Because the crust/base goes slightly crispy this system works well and means you do not need a pizza peel.

In my oven the pizza take roughly 7 minutes to cook though exact timings will depend on your oven. How do you tell when the pizza is cooked? The crust should just be starting to get some black spots. Also when you lift one edge of the pizza up (with a knife or peel) the base should be slightly firm so it doesn’t droop or fold over immediately.

When it comes to toppings I find simplicity is the key. After adding the tomato sauce I add a sprinkle of parmesan before the mozzarella and a sprinkle of olive oil. Basil gets added after the cooking.

1 comment