Inside the chilli house the plants are looking nice and healthy. On the left in a terracotta pot is an Orange Rocoto that is flowering but hasn’t set any pods yet. In the quadgrow from left to right is a Moruga Scorpian, Red Scotch Bonnet, Chocolate Habanero and Cayenne. All four plants have plenty of developed pods on them but but none have ripened yet.
The chilli house isn’t south facing so doesn’t get that much direct sun, just a few hours in the morning. Despite that i usually get plenty of ripe pods and using the self watering quadgrows really helps things speed along.
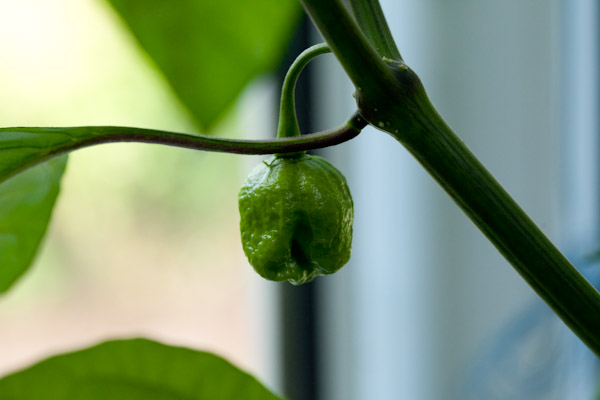
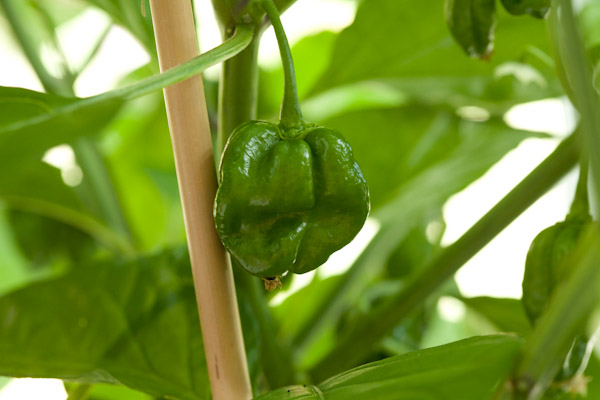
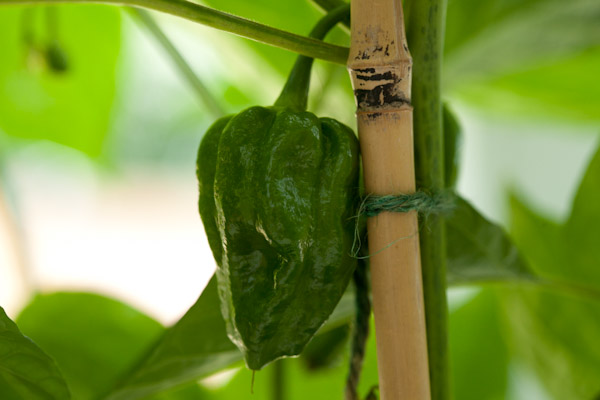
Above are some unripe chocolate habanero and red scotch bonnets. The bottom shot shows the Moruga Scorpian looking mean with it’s wrinkled skin. These chillies look so hot when they’re ripe. I can’t wait until they’re ready.
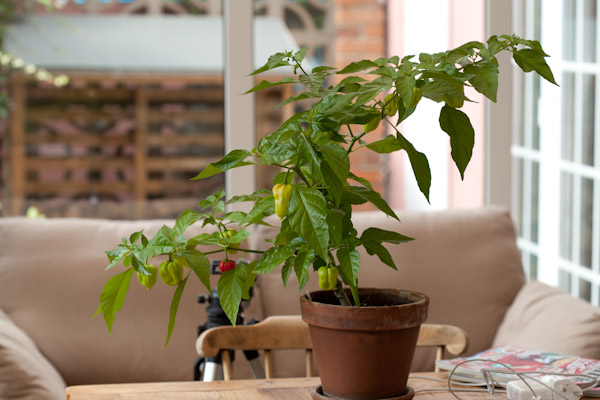
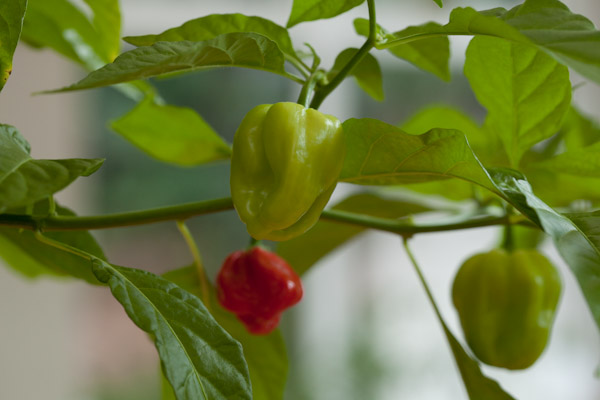
I’m long overdue an update on the blog so I think it’s fitting I start off with my 3 year old red scotch bonnet plant. I’ve overwintered this plant since I planted it back in 2010. The last couple of years i’ve kept it well trimmed with the idea of turning it onto a bonchi (chilli bonsai) plant.
This year it’s been living in our south facing conservatory which gets plenty of sun. It’s really responded well to this years weather and is currently sitting with about 15 large pods on it in various states of ripeness. As a rewards for it’s longevity it now takes pride of place on the kitchen table…
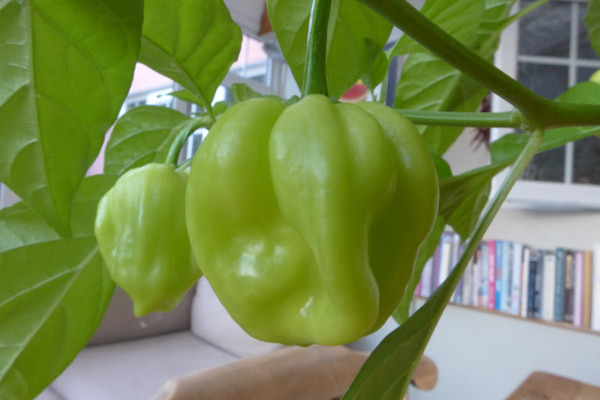
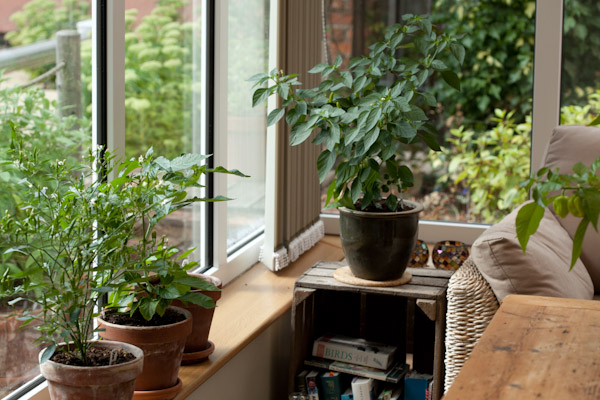
Also in the conservatory are some other plants scattered around. In the picture below from left to right are a demon red (which is covered in tiny green fruit), a Naga Jolokia that is slowly getting going and starting to flower. The third plant on the window sill is an Orange Scotch Bonnet which is stunted and is about to discover the compost heap! Finally on the crate is a super chilli (on the crate) that has a nice spread of pods on it waiting to ripen.
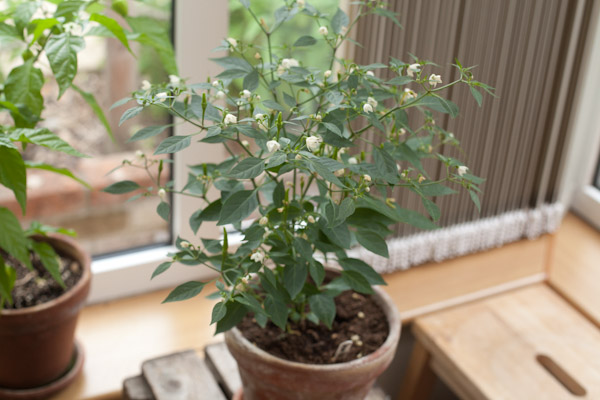
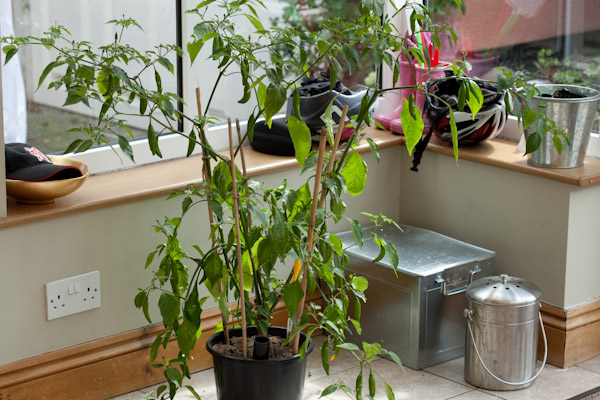
At the other end of the conservatory is the Aji Lemon or Lemon Drop chilli as they are sometimes known. This is the first year i’ve grow Lemon Drops before and having tasted it I really don’t know why it’s taken me so long to try this variety. They pack a reasonable punch but produce an amazingly citrus flavour. Without a shadow of a doubt this will be the first variety on my grow list for next year. As you can see the plant is quite stragley, needing a fair bit of support. However they are very productive. The plant below currently has about 50 pods on it and it’s still producing flowers.
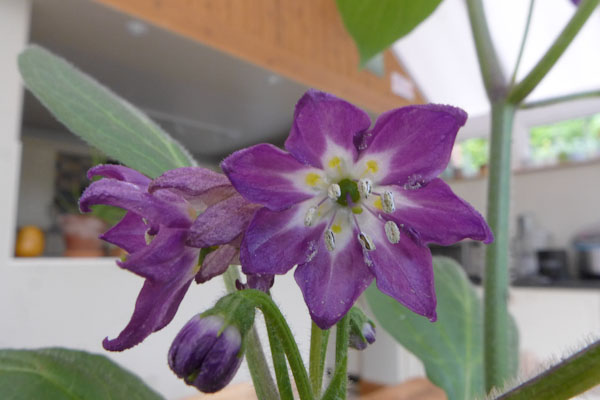
Elsewhere the Orange Rocoto has a few small pods and is producing some beautiful flowers.
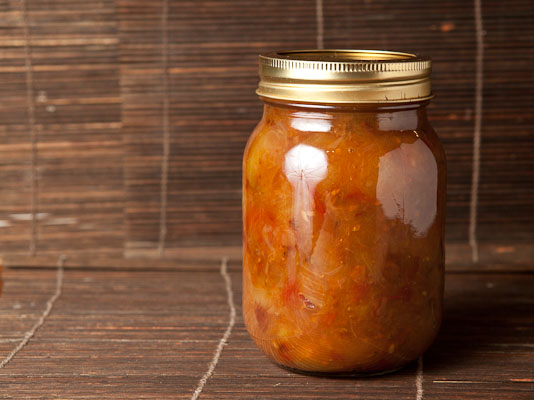
This chilli chutney recipe is another of those simple little recipes that tastes incredible yet is so easy to make. Not only is it quick to make but it stores well. It is delicious served with cheese and biscuits, cold meats or in any sandwich. Like most chutney recipes it is very adaptable so feel free to add in any other fruit or vegetables you have spare.
This recipe will make approximately 4 jars of chutney. It is best stored somewhere cool and dark for 4-6 weeks before consuming. The chutney can be eaten fresh, however over time the flavours infuse and marry meaning it gets better with age.
Chilli Chutney Recipe Ingredients:
- 10 chopped red chillies (Cayenne or similar, adjust to taste)
- 2 large onions
- 300ml of cider vinegar
- 100ml of water
- 1/2 teaspoon of garam masala
- 4 table spoons of light brown castor sugar
- 2 cooking apples
- 1 courgette
- 1 carrot
- 2 bay leaves
- 1 clove of garlic
- 1 tablespoon of crushed coriander seeds
Method:
1. Chop all of the ingredients (not the bay leaves!) and add to a deep pan and bring to the boil.
2. Lower the heat and simmer for about 1 1/2 hours until all the ingredients are soft and the mixture is a thick texture
3. Remove the bay leaves.
4. Place the chutney in clean steralized jars.
The longer you leave it in the jar before opening the greater the flavors become. Once opened store it in a fridge and consume within 6-8 weeks. In our experiance it wont last that long – we think this is the best chilli chutney recipe out there.
Sterilising the Jars
Sterilising jars is not as complicated or doesn’t have to be as precise as you think. Here’s my method:
1. Remove the lids and wash the jars & lids in hot soapy water. Rinse well.
2. Place the jars on a baking tray in the oven at 150 degrees celcius for 10 minutes or until completely dry.
3. Place the lids in a bowl. Boil the kettle and pour the boiling water over the lids in the bowl. This prevents damaging any rubber/plastic seals in the lids. Remove from the water and dry with a clean towel.
If you liked this chilli chutney recipe then you should definitely take a look at our famous chilli oil recipe.