Many moons ago we declared we had discovered the ‘perfect pizza recipe‘. Well after a few more years research we have upped our pizza game here at Chilliking HQ. If you have been wondering how to make great pizza at home then look no further.
I think you’d really struggle to make better pizza than this in a regular domestic oven. The recipe below makes 4 good size 12″ 9 (ish) pizzas.
This recipe uses a sourdough base which adds a huge amount of flavour to the base. I won’t go into how to make sourdough starter in this post – let me know if you’d like to know and I can cover that in a follow up post.
Pizza Dough Ingredients
- 200g active sourdough starter
- 500g strong bread flour
- 310g water
- 10g salt
To make the dough combine all of the ingredients in a bowl then cover with a cloth and allow to rest for 10 minutes.
Next knead the dough for 15 minutes until silky smooth. This can be done by hand or in a food mixer with a dough hook (10 minutes on slow, 5 minutes on fast). Again cover the dough and allow it to proof for 3 hours.
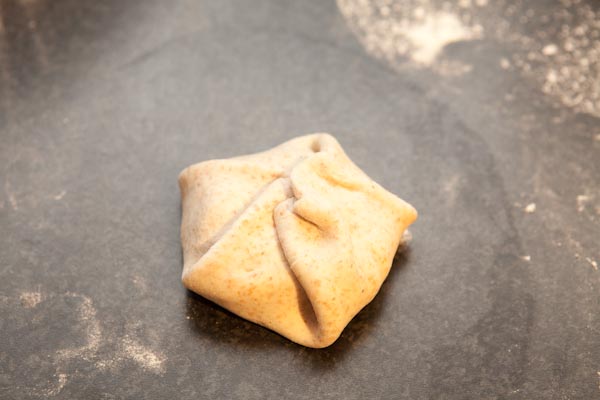
Empty the dough onto a floured work surface and divide it into 4 equal pieces. Shape each piece into a ball by drawing in the corners repeatedly to build some surface tension in the dough. Set the balls aside in a covered tray to proof for another 2-3 hours.
Usually i’ll make a double batch of dough and simply freeze one batch straight after shaping the dough balls. I usually take the dough balls out of the freezer first thing in the morning and they are ready to cook with at lunchtime or if kept somewhere cool will be fine hanging about until the evening.
To shape the dough use your fingers to spread the dough balls into a flat circle. Leave a thick crust around. the edge. The air in this crust will puff up during the cooking process. I then pick the dough up and droop it over the back of my hands, letting gravity stretch it out while i rotate the dough.
I use a mix of normal flour and semolina flour on the work surface and peel to stop the pizzas sticking.
Tomato Sauce Ingredients
- 2 x tins of chopped tomatoes
- 2 x small cloves of garlic
- 1 x tablespoon of dried oregano
To make the tomato sauce simply crush the garlic and simmer for a couple of minutes in olive oil. Add the tinned tomato and oregano. Simmer for 4-5 minutes then blend with a hand blender to a smooth consistency. Continue to simmer for another 20 minutes to slightly reduce the sauce.
How to Prepare Your Oven
To make great pizza at home you need to cook it hot and fast. Below are a couple of tips i’ve found work really well to retain the heat while you’re cooking your pizzas.
- When pre-heating the oven, I put a spare cast iron casserole dish and griddle pan into the bottom of the oven. These soak up the heat and prevent too much heat loss when you are opening/closing the oven to add/remove your pizzas.
- I always cook the pizzas on a pizza stone.This helps to cook the pizza from beneath too and help get the base crispy. It also aids the overall heat retention in the oven like the tip above.

Cooking The Pizza
Leave your oven on full (240 degrees Celcius in my case) when cooking. I use a round thin chopping board (liberally dusted with semolina flour) as a peel to get the pizzas in the oven. To remove them I simply fish them out with a large chefs knife back onto the board. Because the crust/base goes slightly crispy this system works well and means you do not need a pizza peel.
In my oven the pizza take roughly 7 minutes to cook though exact timings will depend on your oven. How do you tell when the pizza is cooked? The crust should just be starting to get some black spots. Also when you lift one edge of the pizza up (with a knife or peel) the base should be slightly firm so it doesn’t droop or fold over immediately.
When it comes to toppings I find simplicity is the key. After adding the tomato sauce I add a sprinkle of parmesan before the mozzarella and a sprinkle of olive oil. Basil gets added after the cooking.